When it comes to measuring, the tape measure often feels like the unsung hero of DIY projects. But what happens when you stumble upon that elusive 7/16 mark? It’s like finding a unicorn in a field of horses—confusing yet oddly satisfying. This tiny fraction might seem insignificant, but understanding it can elevate any project from “meh” to “magnificent.”
Understanding Tape Measures
Tape measures play a crucial role in various DIY projects, making precise measurements essential for success. Familiarity with measurements, especially the 7/16 mark, enhances overall project quality.
The Basics of Tape Measures
Tape measures consist of flexible, retractable strips marked with measurements. They include both imperial and metric units to accommodate different project needs. Understanding how to read tape measures correctly ensures accuracy. Each inch contains subdivisions that indicate smaller measurements, including fractions. Choosing a tape measure with clear markings simplifies the measuring process.
Common Measurements and Fractions
Inch measurements include fractions such as 1/8, 1/4, 1/2, and 3/4, with each serving a specific purpose. The 7/16 mark falls between 1/4 and 1/2 inches, which can cause confusion. Recognizing these fractions allows for more precise cutting and fitting. Common measurements also include feet, where 12 inches equal 1 foot. Understanding the relationship between inches and feet ensures clear communication in construction projects.
Importance of 7/16 on a Tape Measure
Understanding the 7/16 mark on a tape measure plays a vital role in achieving precise results, especially in construction and DIY projects.
Applications in Construction
Construction professionals routinely rely on the 7/16 measurement for various applications. Many framing tasks require accurate spacing and alignment, making this fraction essential. Standard lumber often utilizes the 7/16 measurement for components like wall sheathing. Professionals frequently advise using this mark to ensure structures are sound and stable. Accurate measurements can prevent costly mistakes during installation. Contractors understand that small inaccuracies can accumulate, leading to significant discrepancies in larger projects.
Relevance in DIY Projects
DIY enthusiasts also benefit from knowing the 7/16 mark well. Various home improvement tasks, from cabinetry to flooring installation, often depend on precise measurements. Many tools and fixtures align with the 7/16 mark, allowing for better fitting and finishing. Hobbyists appreciate how incorporating this fractional measurement leads to professional-looking results. Understanding this measurement can make complex projects more manageable. Engaging with fractions like 7/16 elevates the quality of their work and boosts confidence during the process.
How to Read 7/16 on a Tape Measure
Reading 7/16 on a tape measure requires understanding its placement in relation to other fractions. This measurement falls between 1/4 inch and 1/2 inch, specifically at the second tick mark after the 1/4 inch line. Knowing this makes locating the mark easier during projects.
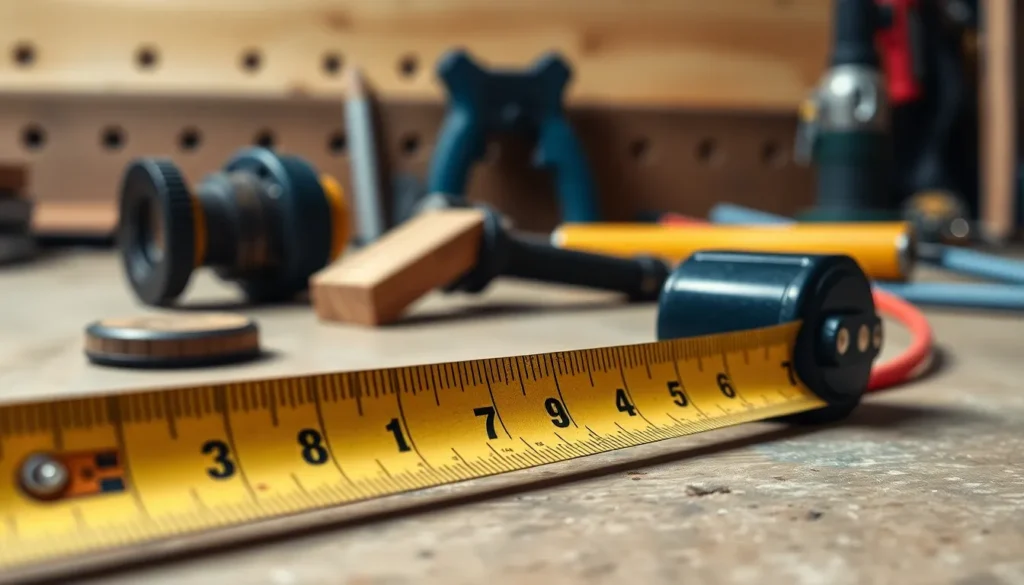
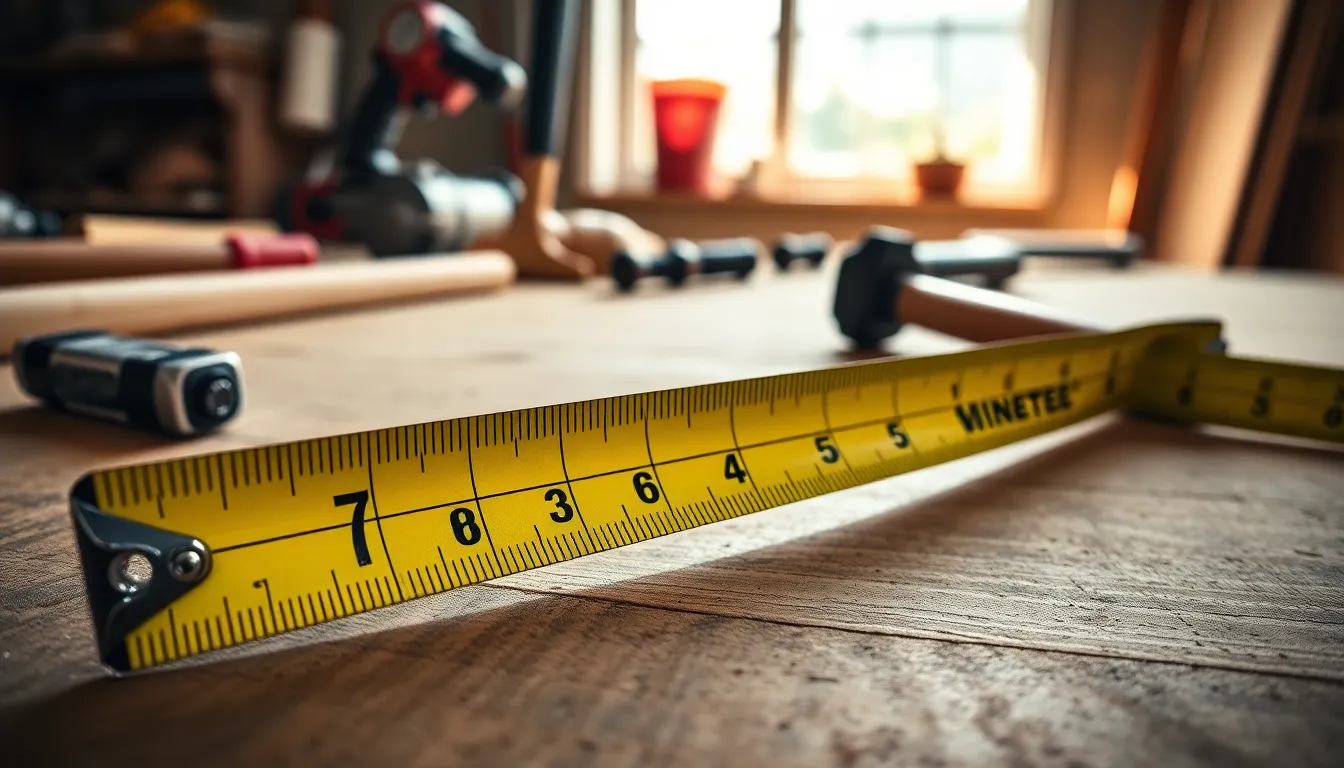
Visual Guide to the Scale
A visual guide can simplify interpreting measurements on a tape measure. Each inch consists of 16 smaller divisions. The zero point is at the far left, increasing incrementally to the right. Visual cues indicate fractions: 1/4 inch is at the fourth line, and 1/2 inch is at the eighth. The 7/16 mark sits between the 4th and 8th lines, closer to the 1/2 inch. Observing regularly can reinforce familiarity with these incremental measurements.
Tips for Accurate Measurements
Measuring accurately requires attention to detail. Hold the tape measure taut to ensure precision while avoiding sagging. Always align the beginning of the tape with the edge of the material. Read at eye level to prevent parallax errors. It’s beneficial to double-check each measurement, especially for critical cuts. Marking the 7/16 with a pencil helps in visualizing the cut. Practice consistently and develop a rhythm with measurement, enhancing accuracy over time.
Comparison with Other Measurements
Understanding the 7/16 mark on a tape measure involves contexts with other fractions and measurements. Many projects require comparing 7/16 with common fractions for precise outcomes.
7/16 vs. Other Common Fractions
7/16 sits between 1/4 and 1/2 inches. Each of these fractions serves specific purposes in construction and DIY projects. For instance, 1/4 inch represents a smaller increment, while 1/2 inch doubles that value. 5/8 falls after 1/2 inch but remains less common than 7/16 for certain applications. Selecting 7/16 instead of other fractions can enhance accuracy when measuring plywood or sheathing that require exact spacing. Knowing this placement aids users in quickly identifying its relevance with frequently used fractions.
When to Use 7/16 Instead of Other Measurements
7/16 becomes particularly useful during framing tasks. It often aligns with standard lumber dimensions, which can reduce discrepancies in large builds. Utilizing this measurement supports accurate corner joints and spacing for structural integrity. DIY enthusiasts might choose 7/16 for cabinetry installations, where precise fitting is crucial. It also benefits flooring projects, ensuring that planks sit evenly without gaps. Opting for 7/16 contributes to achieving professional-looking finishes across various tasks.
Mastering the 7/16 mark on a tape measure can elevate any DIY project or construction task. Its significance in achieving precise measurements can’t be overstated. By understanding this fraction, individuals can enhance their skills and confidence in various applications.
Practicing accurate measurement techniques will lead to improved results and fewer costly mistakes. Whether it’s framing, cabinetry, or flooring, recognizing the 7/16 mark ensures better fitting and finishing. Embracing this knowledge empowers both professionals and enthusiasts to create exceptional projects that stand the test of time.